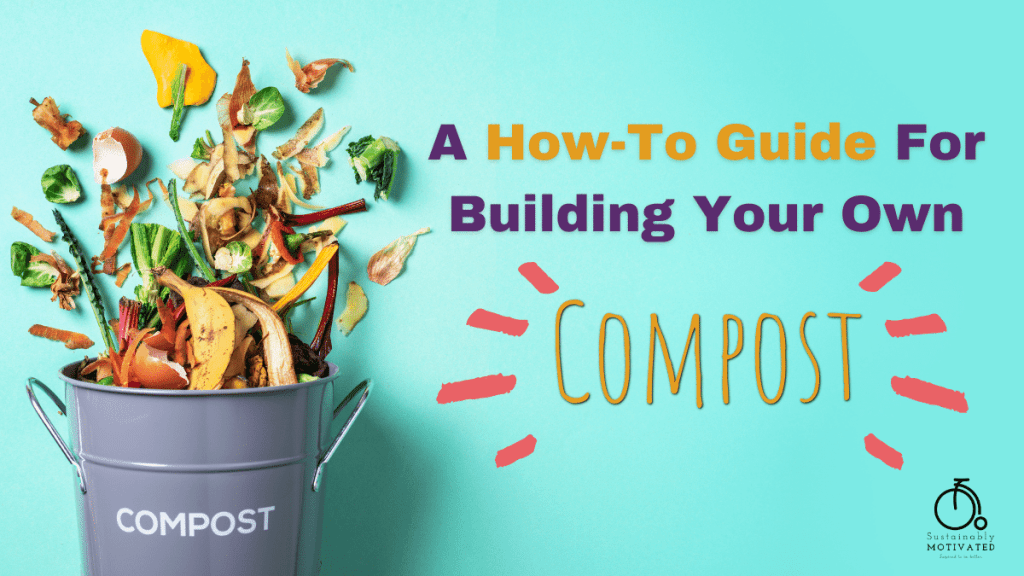
From The Ground Up
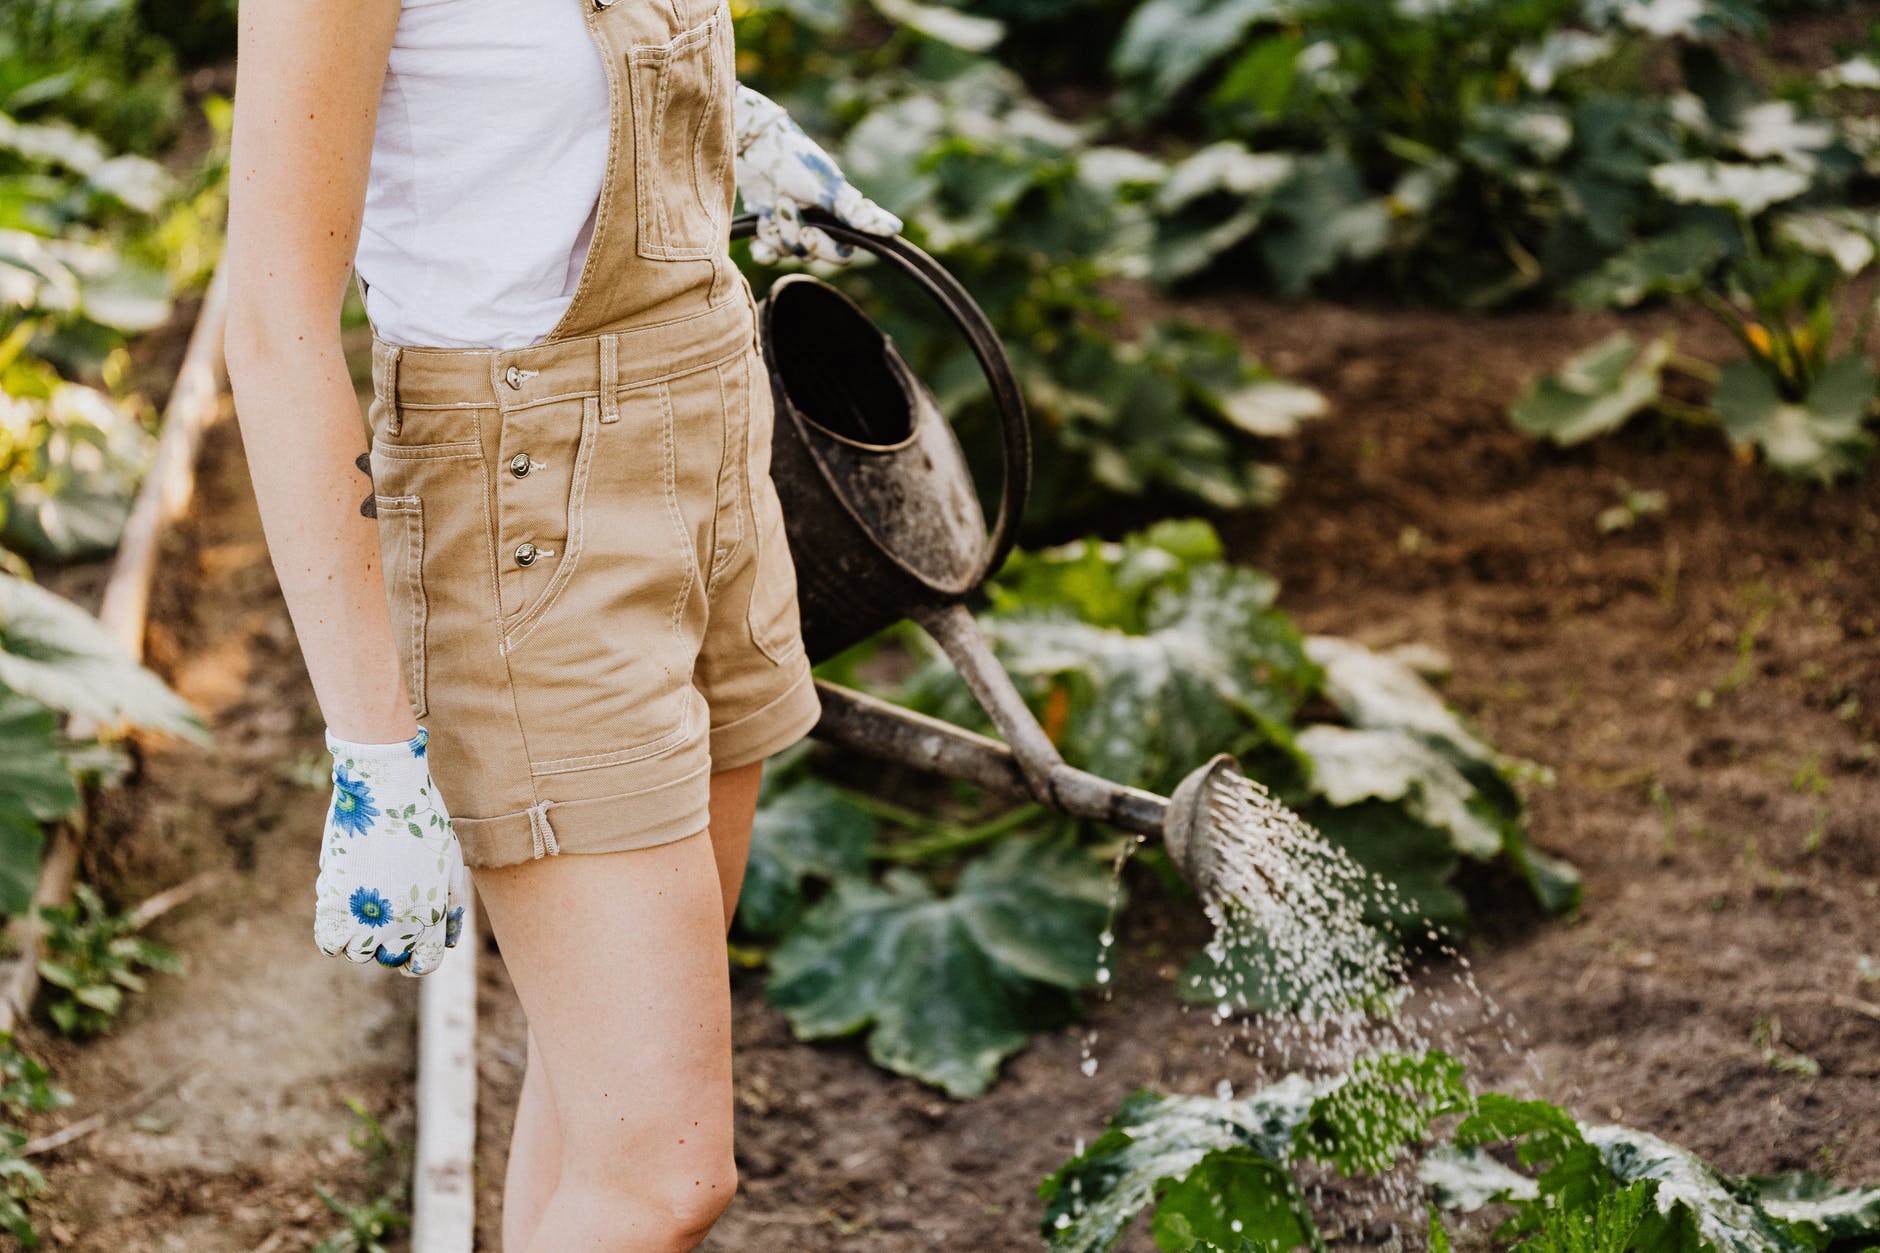
Growing up, we had a large ½ acre garden on our small ranch. We grew everything from tomatoes and carrots to corn and rhubarb. When I was younger my chores often included weeding the garden or setting up the watering sprinklers.
I learned what it takes to have a green thumb. Want to know a secret? It takes very little green thumb ‘skill’ as long as you have a little bit of basic knowledge. This article covers one of the most important aspects of a good garden compost.
Consider your compost as quite literally the groundwork for your garden.
What is Compost?
Compost is a general term that can refer to any number of ingredients. At its basic form, it involves the decomposition of organic matter into soil, or a soil-like form called humus. This resulting mixture is rich nutrients like nitrogen and phosphates that are essential for plants to grow.
In the natural world, composting is going on all around us every single day. The leaves that crunch under your feet. Even the manure that is left behind by animals roaming through your neighborhood park. It’s all being broken down into smaller and smaller pieces of organic matter and contributing to a healthy soil system.
Why Bother Making Your Own Compost?
Why would you need to bother with compost if there is already healthy soil in your garden or planters? Over time, plants extract the nutrients that they require from the soil via their roots. These nutrients are the essential building blocks for that plant.
However, when these nutrients are removed from the soil, they aren’t replenished quickly enough to sustain long term healthy growth in your garden. Especially when that garden plot is used consecutively year after year.
If you’ve ever grown a potted plant, you might notice the soil around the stem will develop a ‘sunken’ look. This is because of the physical loss of nutrients from the soil as the plant grows.
Plant (and Feed) Your Roots
Disclaimer: if you see that the soil has sunk around the base of your plant, do not panic. This indicates that your plant has been gathering nutrients from its soil indicating a healthy root system. It can also be a sign that your pot needs more organic-rich soil. Or in our case, some compost.
You can purchase fertilizer in either granular or liquid form to compensate for lost nutrients in your soil. This can work great when your plants need that extra boost. But synthetic fertilizer is often very expensive and of course MUCH less sustainable. Additionally, your own compost will provide an ample supply of organic matter and nutrients. Composting is a great way to reduce your household ecological footprint by recycling all sorts of organic waste.
Let’s get down to the nitty gritty. In this article, I will explain 5 things that your homemade compost will require and how to incorporate them on a budget. These points were compiled from my own research when I began my composting journey 2 years ago.

1. Materials To Get Started
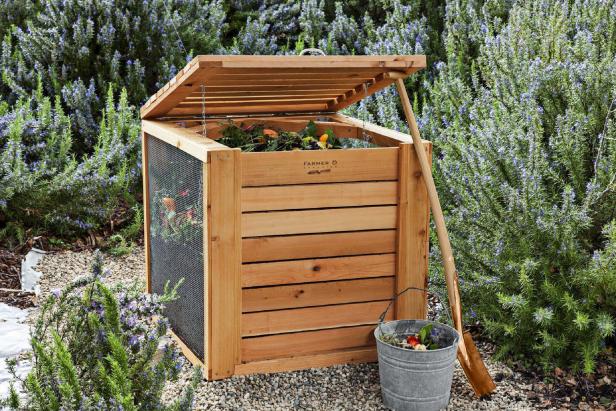
This is where there are the most misconceptions surrounding composting. Some think that a compost requires an expensive bin. Or that if it’s close to your fence, the neighbours will smell it and complain. What if I told you that if it’s done right your compost can be odor-free, affordable, and take up no more than a couple feet of space in your backyard?
A compost doesn’t technically need to be in a bin of any sort. My grandmother had a large pile of food scraps near her garden. When the kitchen pail became full of cooking scraps, she would haul it out and dump it on the pile. This form of composting takes longer than conventional compost, but it breaks down into a very usable soil additive, nonetheless.
If you live in an urban setting, a sprawling mass of rotting food and paper is probably not what you’re looking for. In that case, there are certainly plenty of options at most hardware or landscape stores for fully operating compost bins. However, these will usually come with a steep price tag. The dual batch roller compost from LeeValley rings in at a reasonable $119. There’s also Home Depot’s $223.00 140L Dual Body Tumbling Composter.
DIY Compost Trick
Perhaps you’re looking for something more affordable and you’re feeling crafty. If so, simply grab a large plastic bin and start your compost in there. Alternatively, if you have the space, you can pick up some pallets for free from a local dump or facility and build a square space. Wrap some mesh fencing around it and voila!
Rubbermaid Tub – $25.00
Pallets – Free
Mesh Fence – $35.00 (With fence to spare)
2. Airflow & Mixing
It is important for your compost to have plenty of airflow. This will be the difference between my grandmothers slow, cold compost and the fast, hot compost we want.
What does the airflow DO exactly? A compost only works as well as its microbiome. The microbial bacteria, insects, and earth worms (more on them later) that inhabit your compost are responsible for digesting and breaking down the organic matter. One thing that these tiny workers require is oxygen.
Without it, your compost may enter anaerobic fermentation rather than decomposition. Fermentation can lead to bad odors and rotting food stuff rather than a clean earthy product. Therefore, allowing ample airflow through your compost by stirring and mixing it will increase the productivity of the microbial community and keep it from fermenting. Pretty cool right?

DIY Compost Trick
If you’re using a bin or a box, make sure to drill or punch holes through the top or along the sides for ample air exchange. Second, find a solid stick or pitchfork to stir your compost. I suggest doing this once every week if you have time.
Stick – Free
Garden Spade – $30.00
3. Keep it HOT
Aerating your compost will not only allow oxygen in but it also increases its temperature. It may sound counterintuitive that allowing airflow will increase the temperature. But the science behind it is sound. Once again, it comes down to your microbes. The more productive they are, the more energy they release.
When you have an abundant microbial community that is rapidly consuming, digesting, and excreting organic matter, they release energy in the form of heat! This heat plays a significant role in the breakdown of organic matter. It can also serve to kill any unwanted weed seeds that might have ended up in it. If done properly, your compost can reach internal temperatures of over 50 degrees Celsius! Very cool, right?

DIY Compost Trick
This comes down to consistently mixing your mixture. This way, the outer layers can rotate to the inside where the heat is highest. It can be advantageous to keep your compost in a sheltered area through the winter months such as a garage or shed. There may be concerns about odors or attracting insects so make sure that it is somewhere that these won’t be an issue.
Free – Just a little bit of your time every week to keep rotating your compost mixture.
4. The Recipe, Adding Browns and Greens
Finally, what ingredients do we want to use to make sure we are producing the highest quality product? The goal with your compost is going to be a ratio of carbon rich products to nitrogen rich products (C:N). To keep it simple, let’s categorize our carbon products as ‘browns’ and nitrogen as ‘greens’. Ideally, we want to have at least a 3C:1N ratio of browns to greens. You can however, increase the browns considerably while keeping a productive compost.
Brown ingredients can include: dried leaves, straw, newspaper, wood chips, twigs, or cardboard.
Green ingredients can include: grass clippings, fresh leaves, fruit & vegetables, eggshells, coffee grinds, bread and animal manure. (only use manure from herbivores, your cats litter box does NOT belong in your compost).

DIY Compost Trick
There are plenty of other compost ingredients that you might be able to find on the internet. The ones listed above should provide you with a solid groundwork to start your compost.
Free – Just recycle the yard and household waste that you already have at your disposal.
5. EEW! Worms?!
The final step in getting the most out of your compost is going to be earthworms. Yup, that’s right. Those little crawlers that you find in the dirt or on the sidewalk after a rain. They are mother nature’s cleanup crew.
Adding earthworms will dramatically improve your compost. Earthworms make their living by consuming organic matter and excreting it as something called vermicast. Vermicast is essentially a nutrient dense soil enhancement that you won’t even know is there.

DIY Compost Trick
In Canada, you can order certain species of worms like Red Wrigglers that are exceptional at breaking down organic matter. If you’re feeling stingy or want an excuse to get outdoors, try finding some earthworms in your own neighborhood. (Hint: they often come to the surface shortly after a good rain).
Self Harvested Worms – Free
Red Wriggler Compost Worms – $40

Now Get Composting!
After examining what our DIY compost costs are going to be, we see that it can take anywhere from $25-100. The beauty is that if the fundamental steps are followed, a homemade compost that costs $25 can work just as well as a store-bought one. Plus, you might even enjoy setting it up!
Follow these steps and your compost should be set up and ready to go! This means you can then start adding your ingredients and earthworms, if you choose. In about a month, you should notice a lot of decomposition.
After two months, your compost should be producing a high quality soil-like product. Finally, sprinkle this over your garden topsoil or around your potted plants and watch the magic of mother nature’s natural fertilizer.
Editing by Megan Fuller.
